Skip to primary navigation
Skip to main content
Skip to primary sidebar
START HERE
About
Recipes
Colitis
Shop
Amazon
Facebook
Instagram
Pinterest
Search
menu icon
search icon
Search
START HERE
About
Recipes
Colitis
Shop
×
Search results for: donut
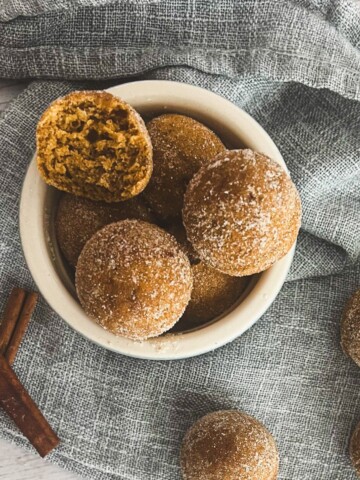
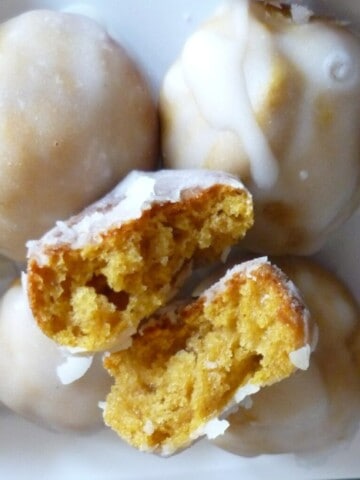
3 Ingredient Pumpkin Spice Donut Holes
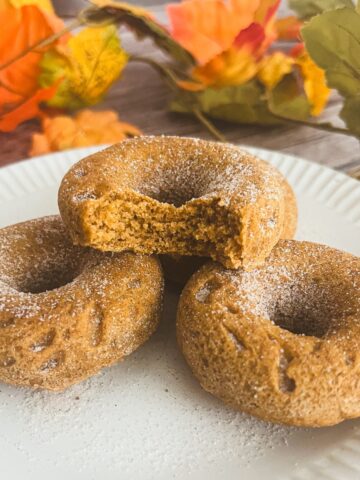
4 Ingredient Pumpkin Spice Donut
Glazed Grilled Donut
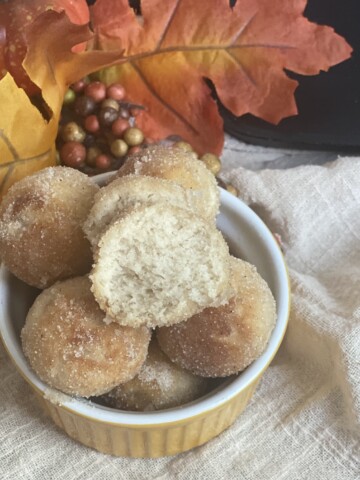
Five Ingredient Gluten Free Apple Spice Donut Holes
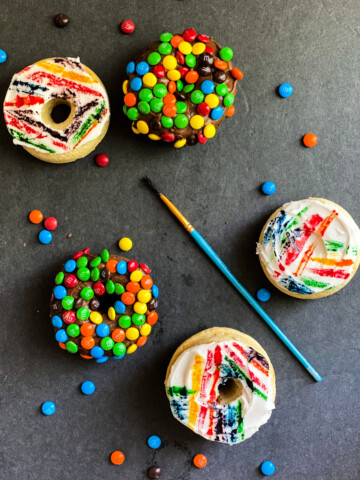
Gluten Free Five Ingredient Rainbow Donuts Perfect Pride Month Donuts!
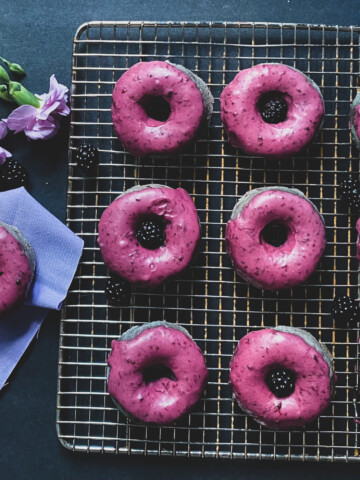
Gluten Free Five Ingredient Blackberry Donuts
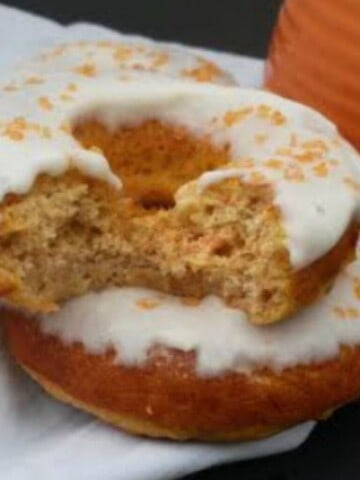
Carrot Cake Donuts
Double Chocolate Baked Donut
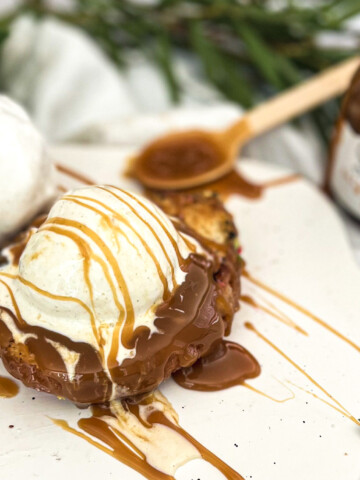
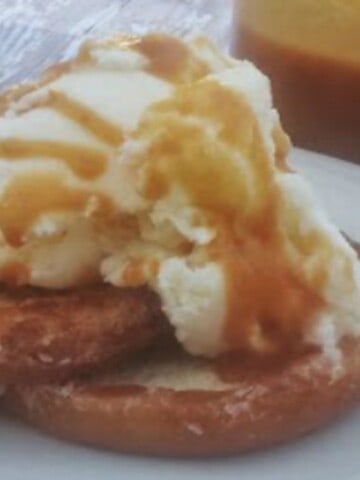
Grilled Donuts with Vanilla Ice Cream and Caramel Sauce
Baked Funfetti Donuts
Irresistible Baked Pumpkin Spice Donut Holes
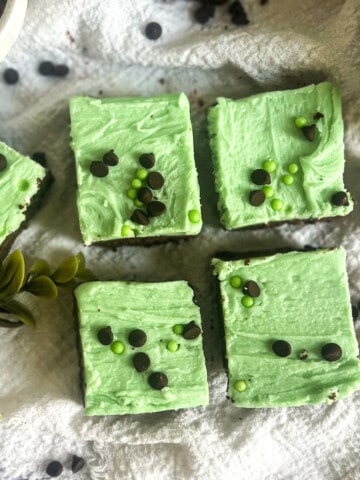
Easy 5 Ingredient Mint Gluten Free Brownies
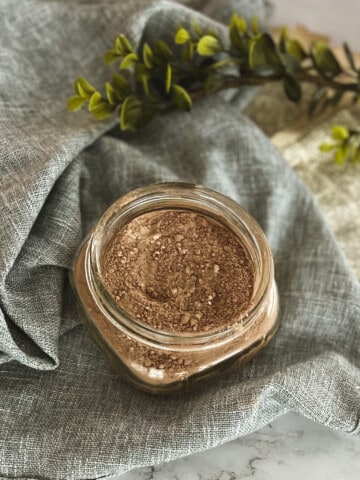
Gluten Free Chocolate Cake Mix
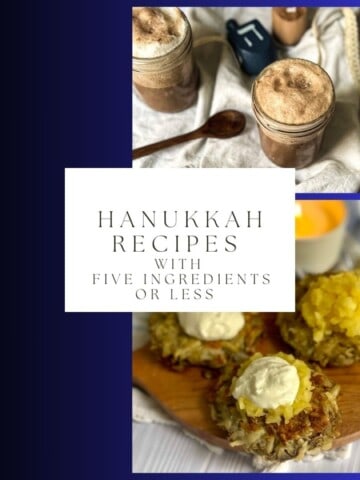
Ten Hanukkah Recipes with Five Ingredients or Less
Easy Ways to Maximize Your Game Concession Stand Profits!
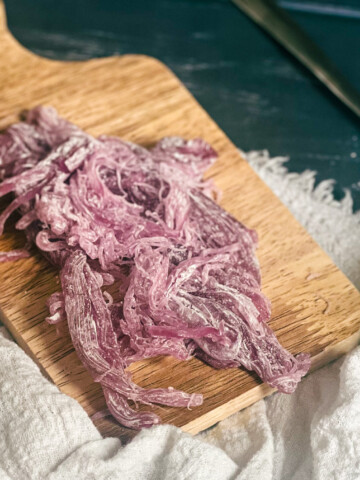
Making the Perfect Dragon’s Beard Candy at Home
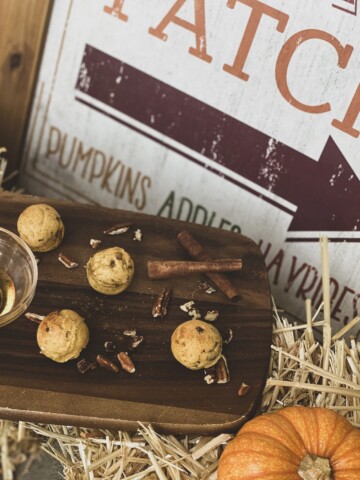
Pumpkin Pecan Pancake Bites
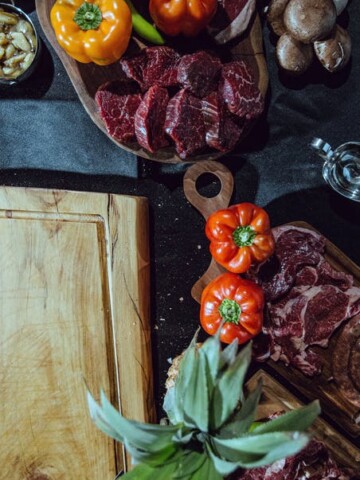
Cold Weather Grilling Tips
Gluten Free Halloween Cake Truffles
Meals for Feeding Football Players and Large Groups: The Breakfast Edition
Easy Neon Party Foods
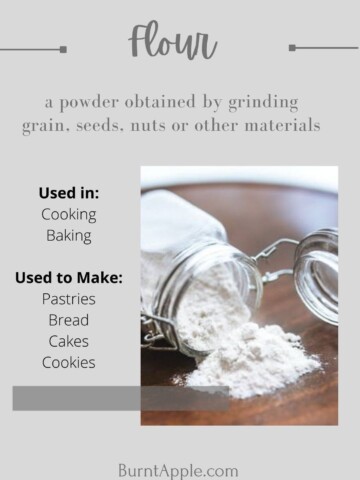
Baking With Specialty and Artisan Gluten Free and Food Allergen Friendly Flours
Getting Started: Baking with Flour and Our Top Allergen Free Flours For Baking
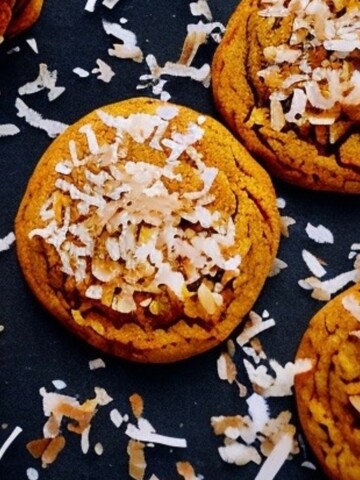
Pumpkin Coconut Cookies
Easy School Lunches for Kids (No Refrigeration or Heating Required!)
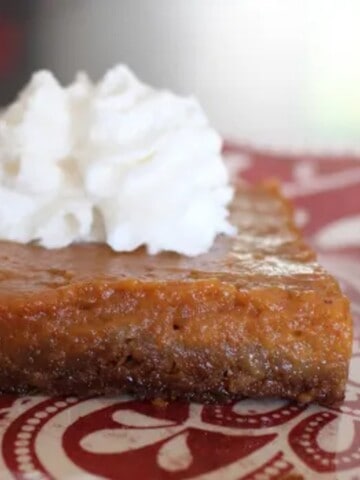
Sheet Pan Pumpkin Pie
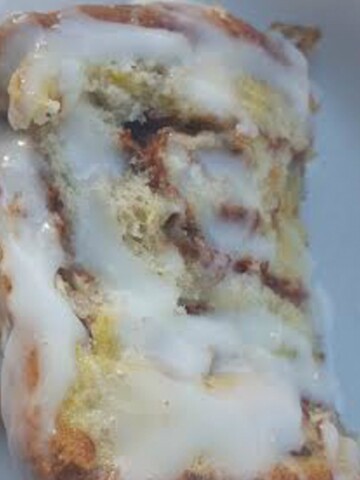
Apple Cider Cake Recipe
Traveling as a Single Parent--Hawaii
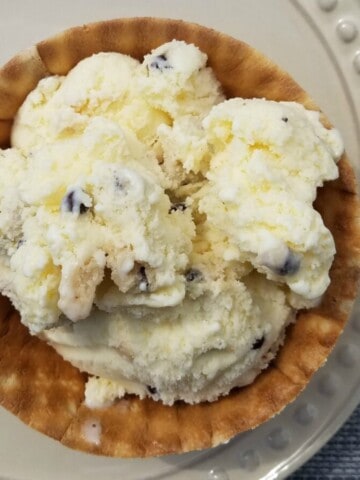
Cookie Dough Ice Cream Recipe
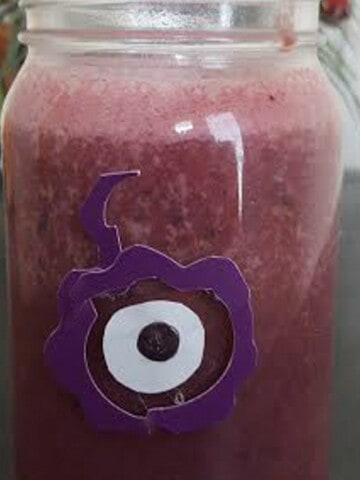
Purple People Eater Purple Smoothie
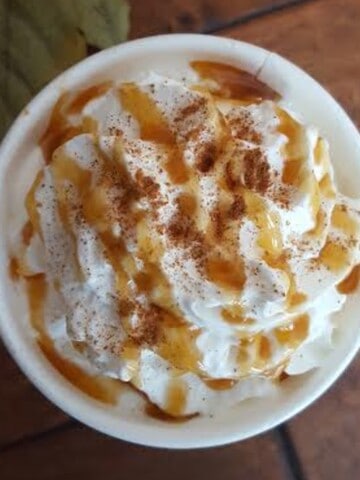
Creamy and Hot Caramel Apple Cider
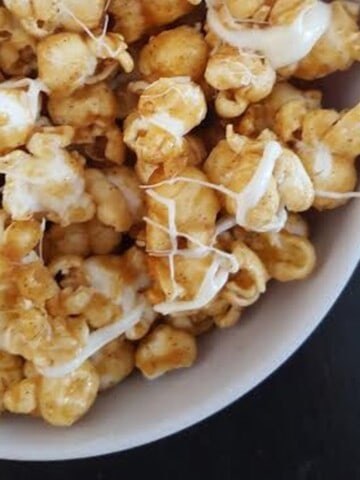
Apple Caramel Popcorn
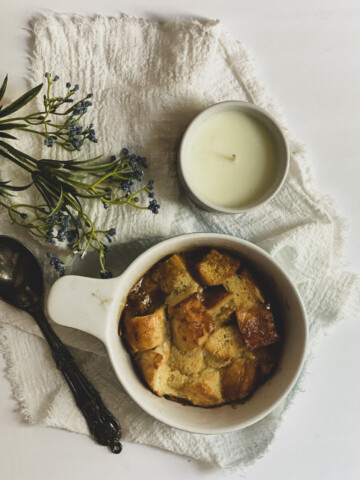
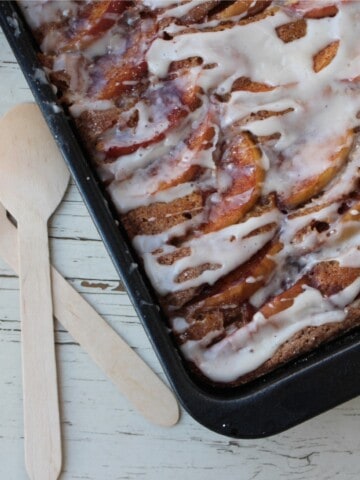
Campfire Cinnamon French Toast Casserole
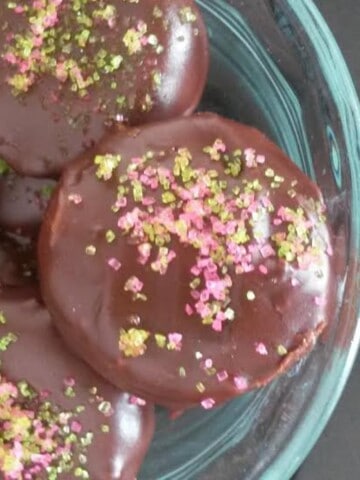
Chocolate Glaze That Hardens on Your Favorite Desserts
25+ Lego Movie Birthday Party Ideas
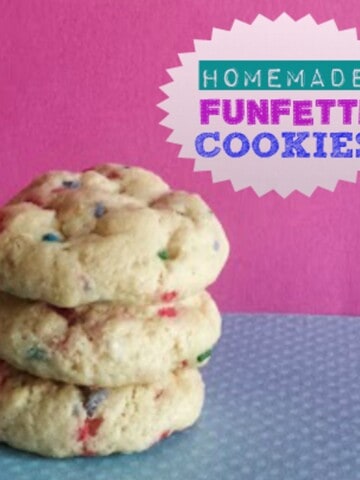
Funfetti Cookie Recipe
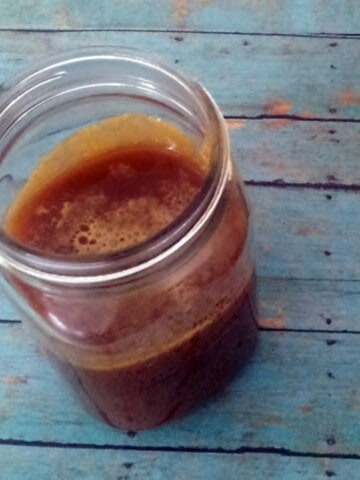
No Thermometer Salted Caramel Sauce Recipe
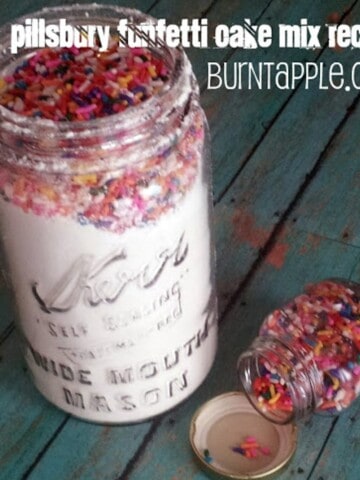
Copycat Gluten Free Pillsbury Funfetti Cake Mix
You may be interested in...
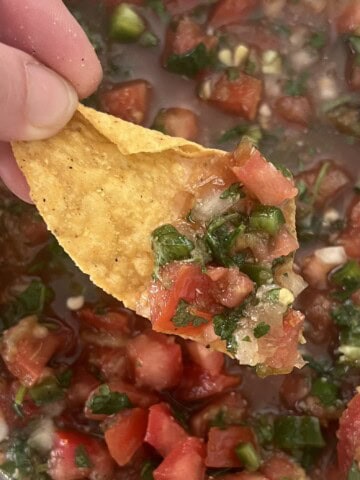
5 Ingredient Salsa Jalapeno Recipe
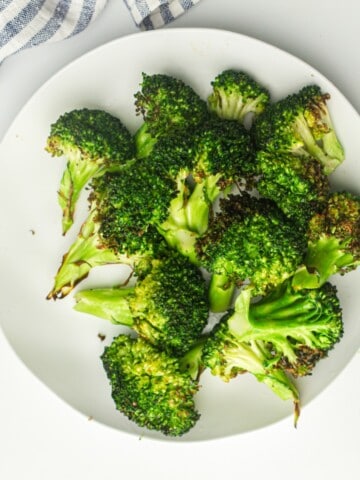
4 Ingredient Air Fryer Frozen Broccoli
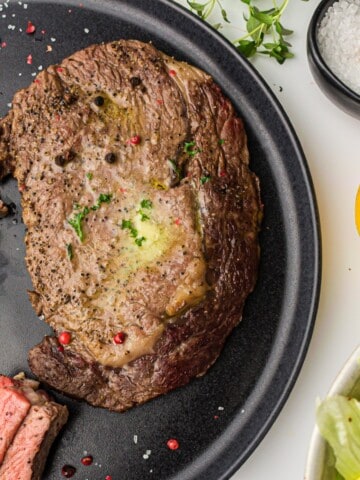
5 Ingredient Air Fryer Ribeye Steak
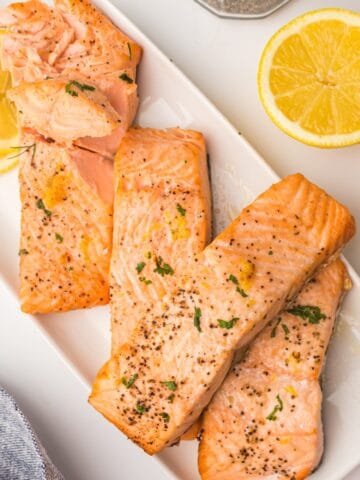
5 Ingredient Air Fryer Frozen Salmon Fillet
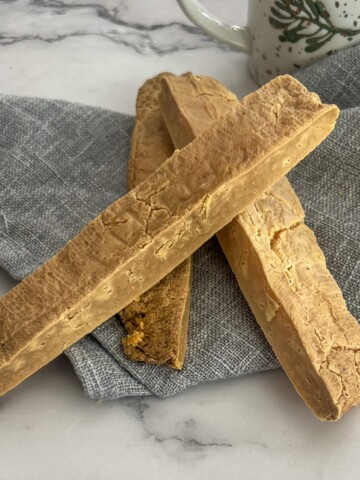
Lactose Free Himalayan Yak Chews for Dogs
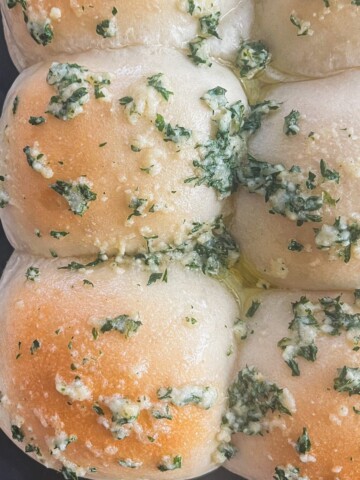
5 Ingredient Easy Garlic Butter Rolls
Oreo Frosting Recipe
5 Ingredient Pistachio Pudding Cake Recipe