Hard boiled eggs are a staple in many kitchens, as they are a quick and easy protein-packed snack or breakfast option. However, it can be tricky to get them just right. Whether you prefer your yolks set or runny, here are some tips to bake hard boiled eggs perfect every time!

How to Bake Hard Boiled Eggs
I learned how to bake eggs in the oven a couple of years ago when several sad attempts at boiling them in water went sour. There is an art to perfect hard boiled eggs, and I was fast learning that I wasn't going to be able to do it using the stove top.
Tips
Choose the Right Eggs
Start with fresh eggs, as older eggs are harder to peel and may have a greenish tint around the yolks.
Single Layer
When baking eggs, it is important to place them in a single layer. This will help ensure even cooking and prevent cracking. I always place an egg in each muffin cup of a muffin pan.
Baking
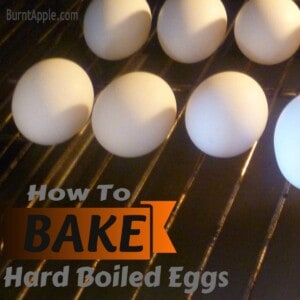
Preheat your oven to 325 degrees. After placing your eggs in a muffin cup of a muffin pan, cook for about 20 minutes for a runnier yolk, and 30 minutes for a set yolk.
Don't Forget the Ice Bath!
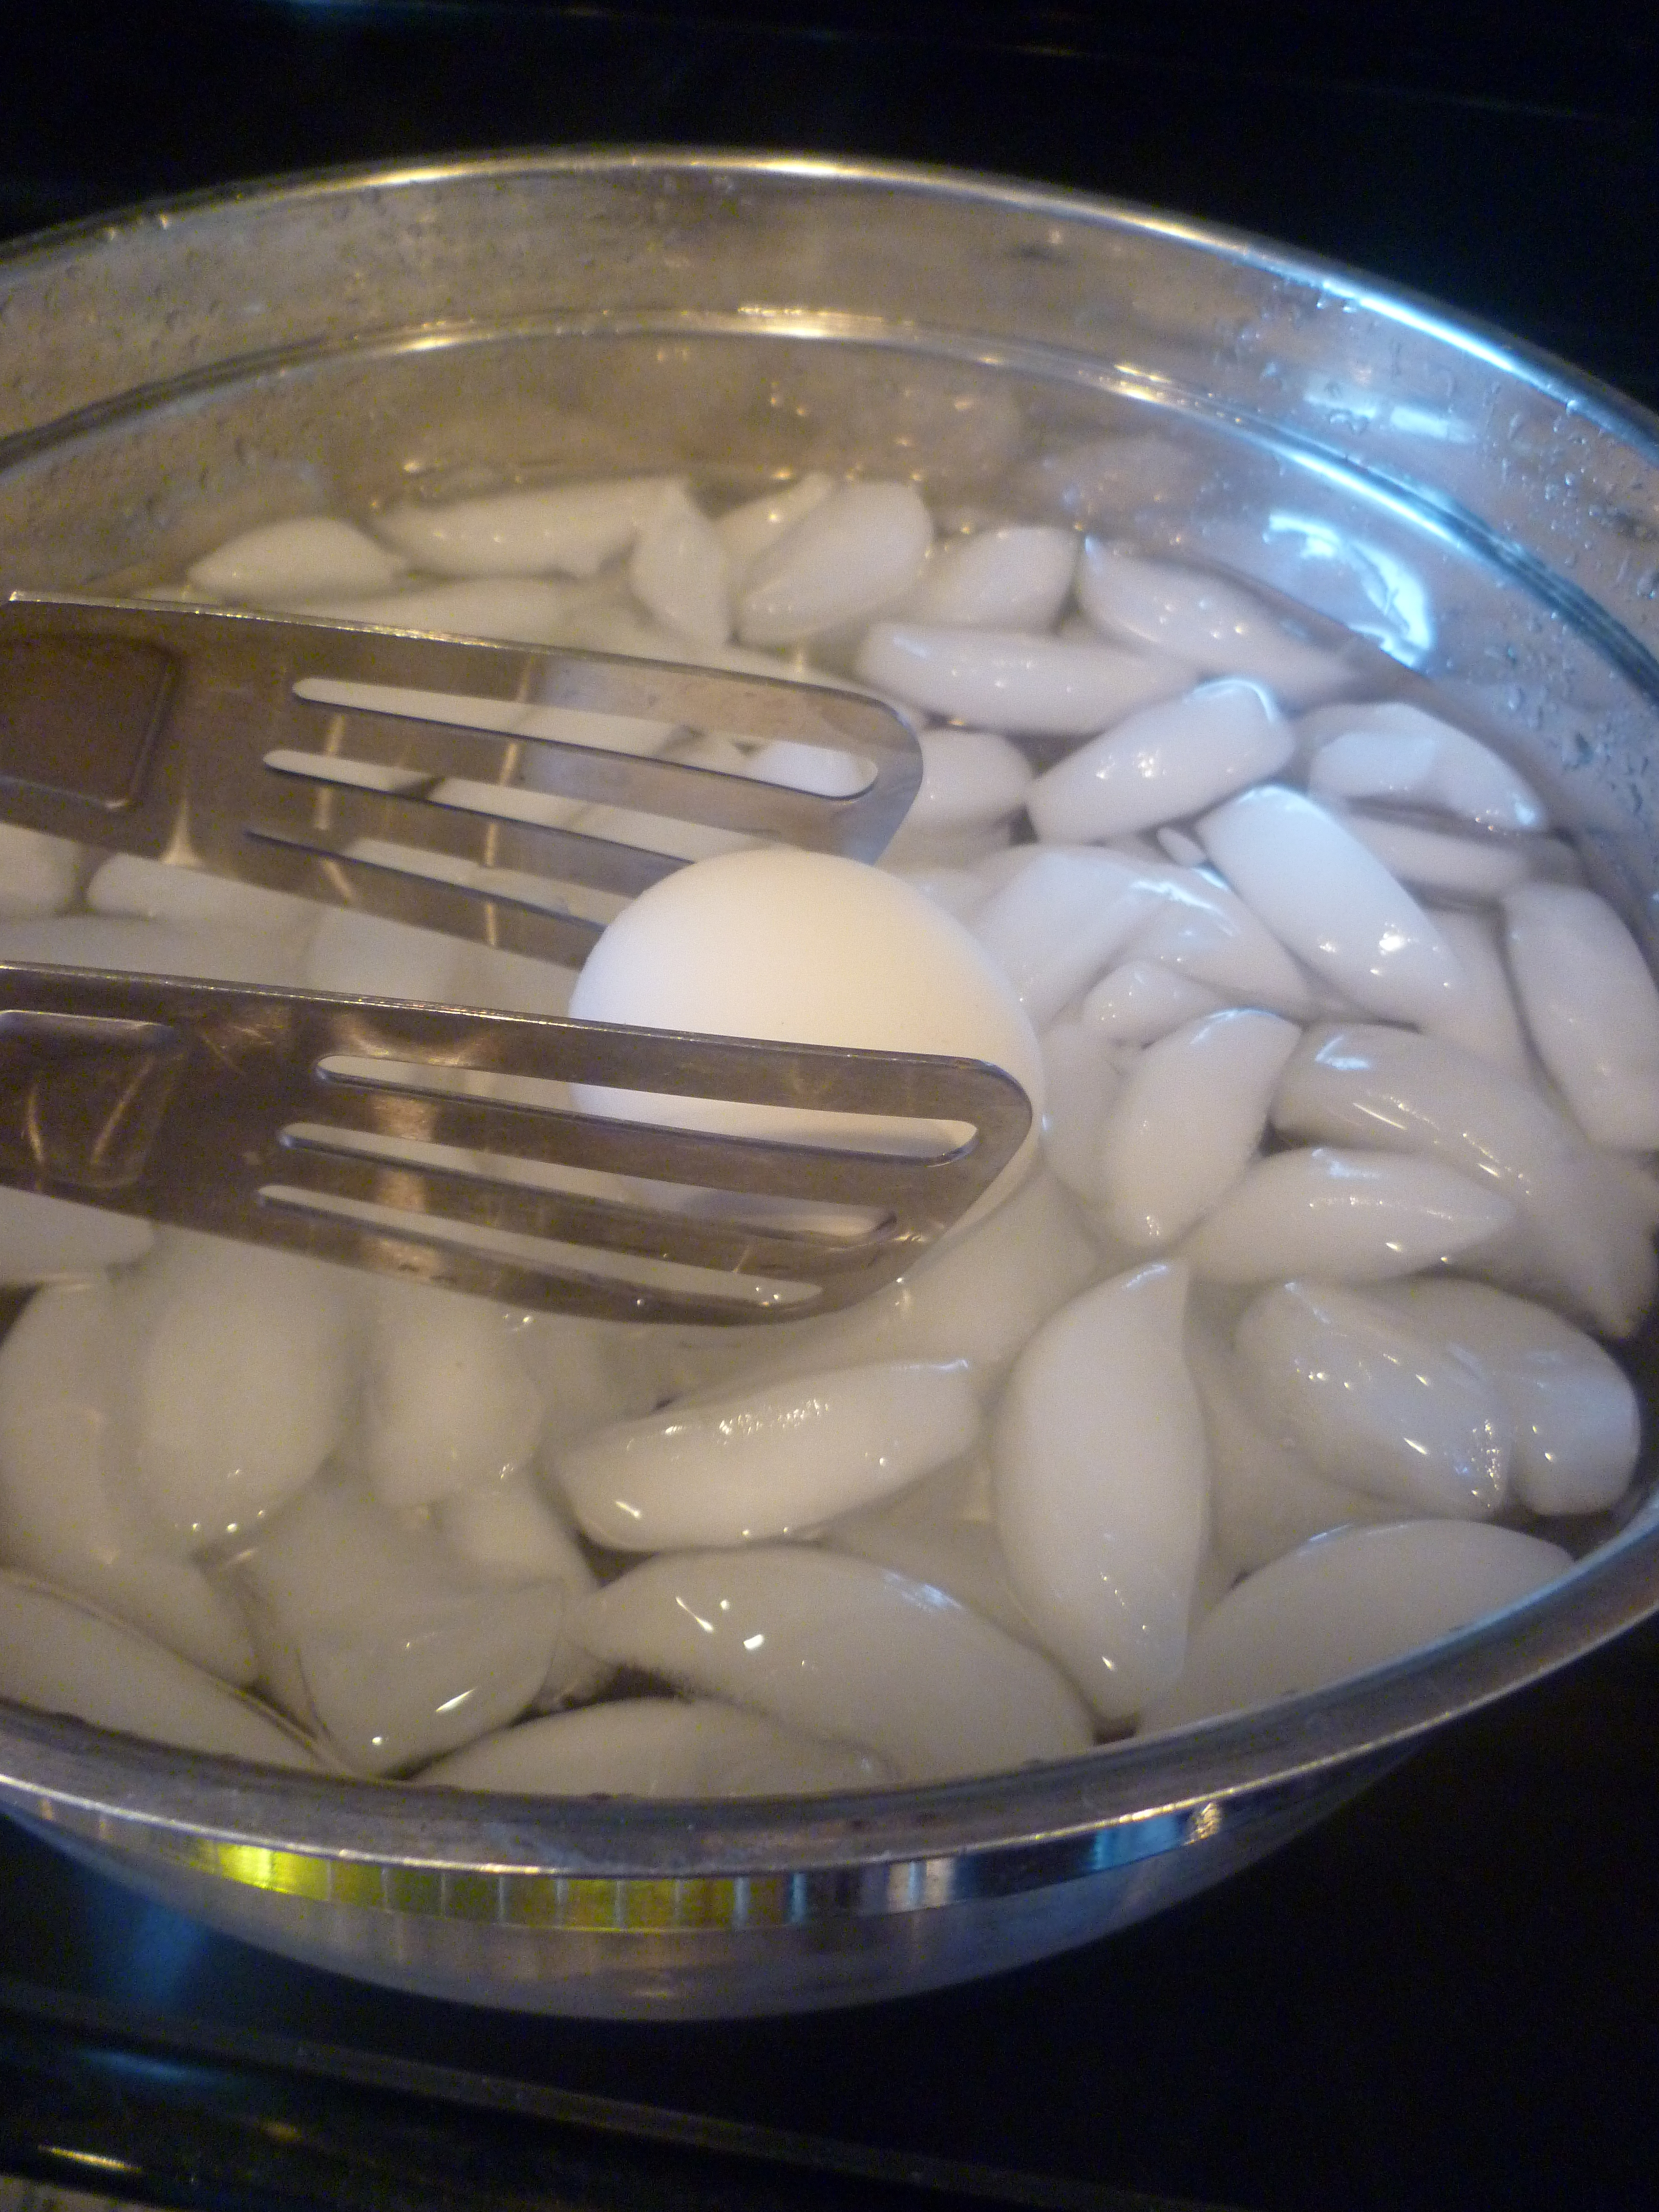
After taking your eggs out of the oven, immediately transfer the eggs to an ice bath to stop the cooking process and make them easier to peel. Let the eggs sit in the ice bath for at least 5 minutes before peeling.
Storing Hard Boiled Eggs
Hard boiled eggs can be stored in the refrigerator for up to one week. To keep them fresh, store them in a covered container with a damp cloth to prevent moisture loss.
Peeling Eggs
To make the eggs easier to peel, gently roll them on a flat surface to crack the shells, then gently peel the shells off.
Using Up Leftover Baked Hard Boiled Eggs
Baking hard boiled eggs can be a quick and easy protein-packed snack or breakfast option. By following these tips and adjusting the cooking time based on the desired level of yolk doneness, you can bake the perfect hard boiled eggs every time. Whether you prefer them with a set or runny yolk, these tips will help you achieve the perfect texture and flavor.
Alternately, you can use hard boiled eggs in a number of delicious recipes! Try some mediterranean deviled eggs, or enjoy eggs in a delicious salad, sandwich, or breakfast burrito!

Bake Hard Boiled Eggs in the Oven!
Equipment
- muffin pan
Ingredients
- 1 dozen eggs
- ice water
Instructions
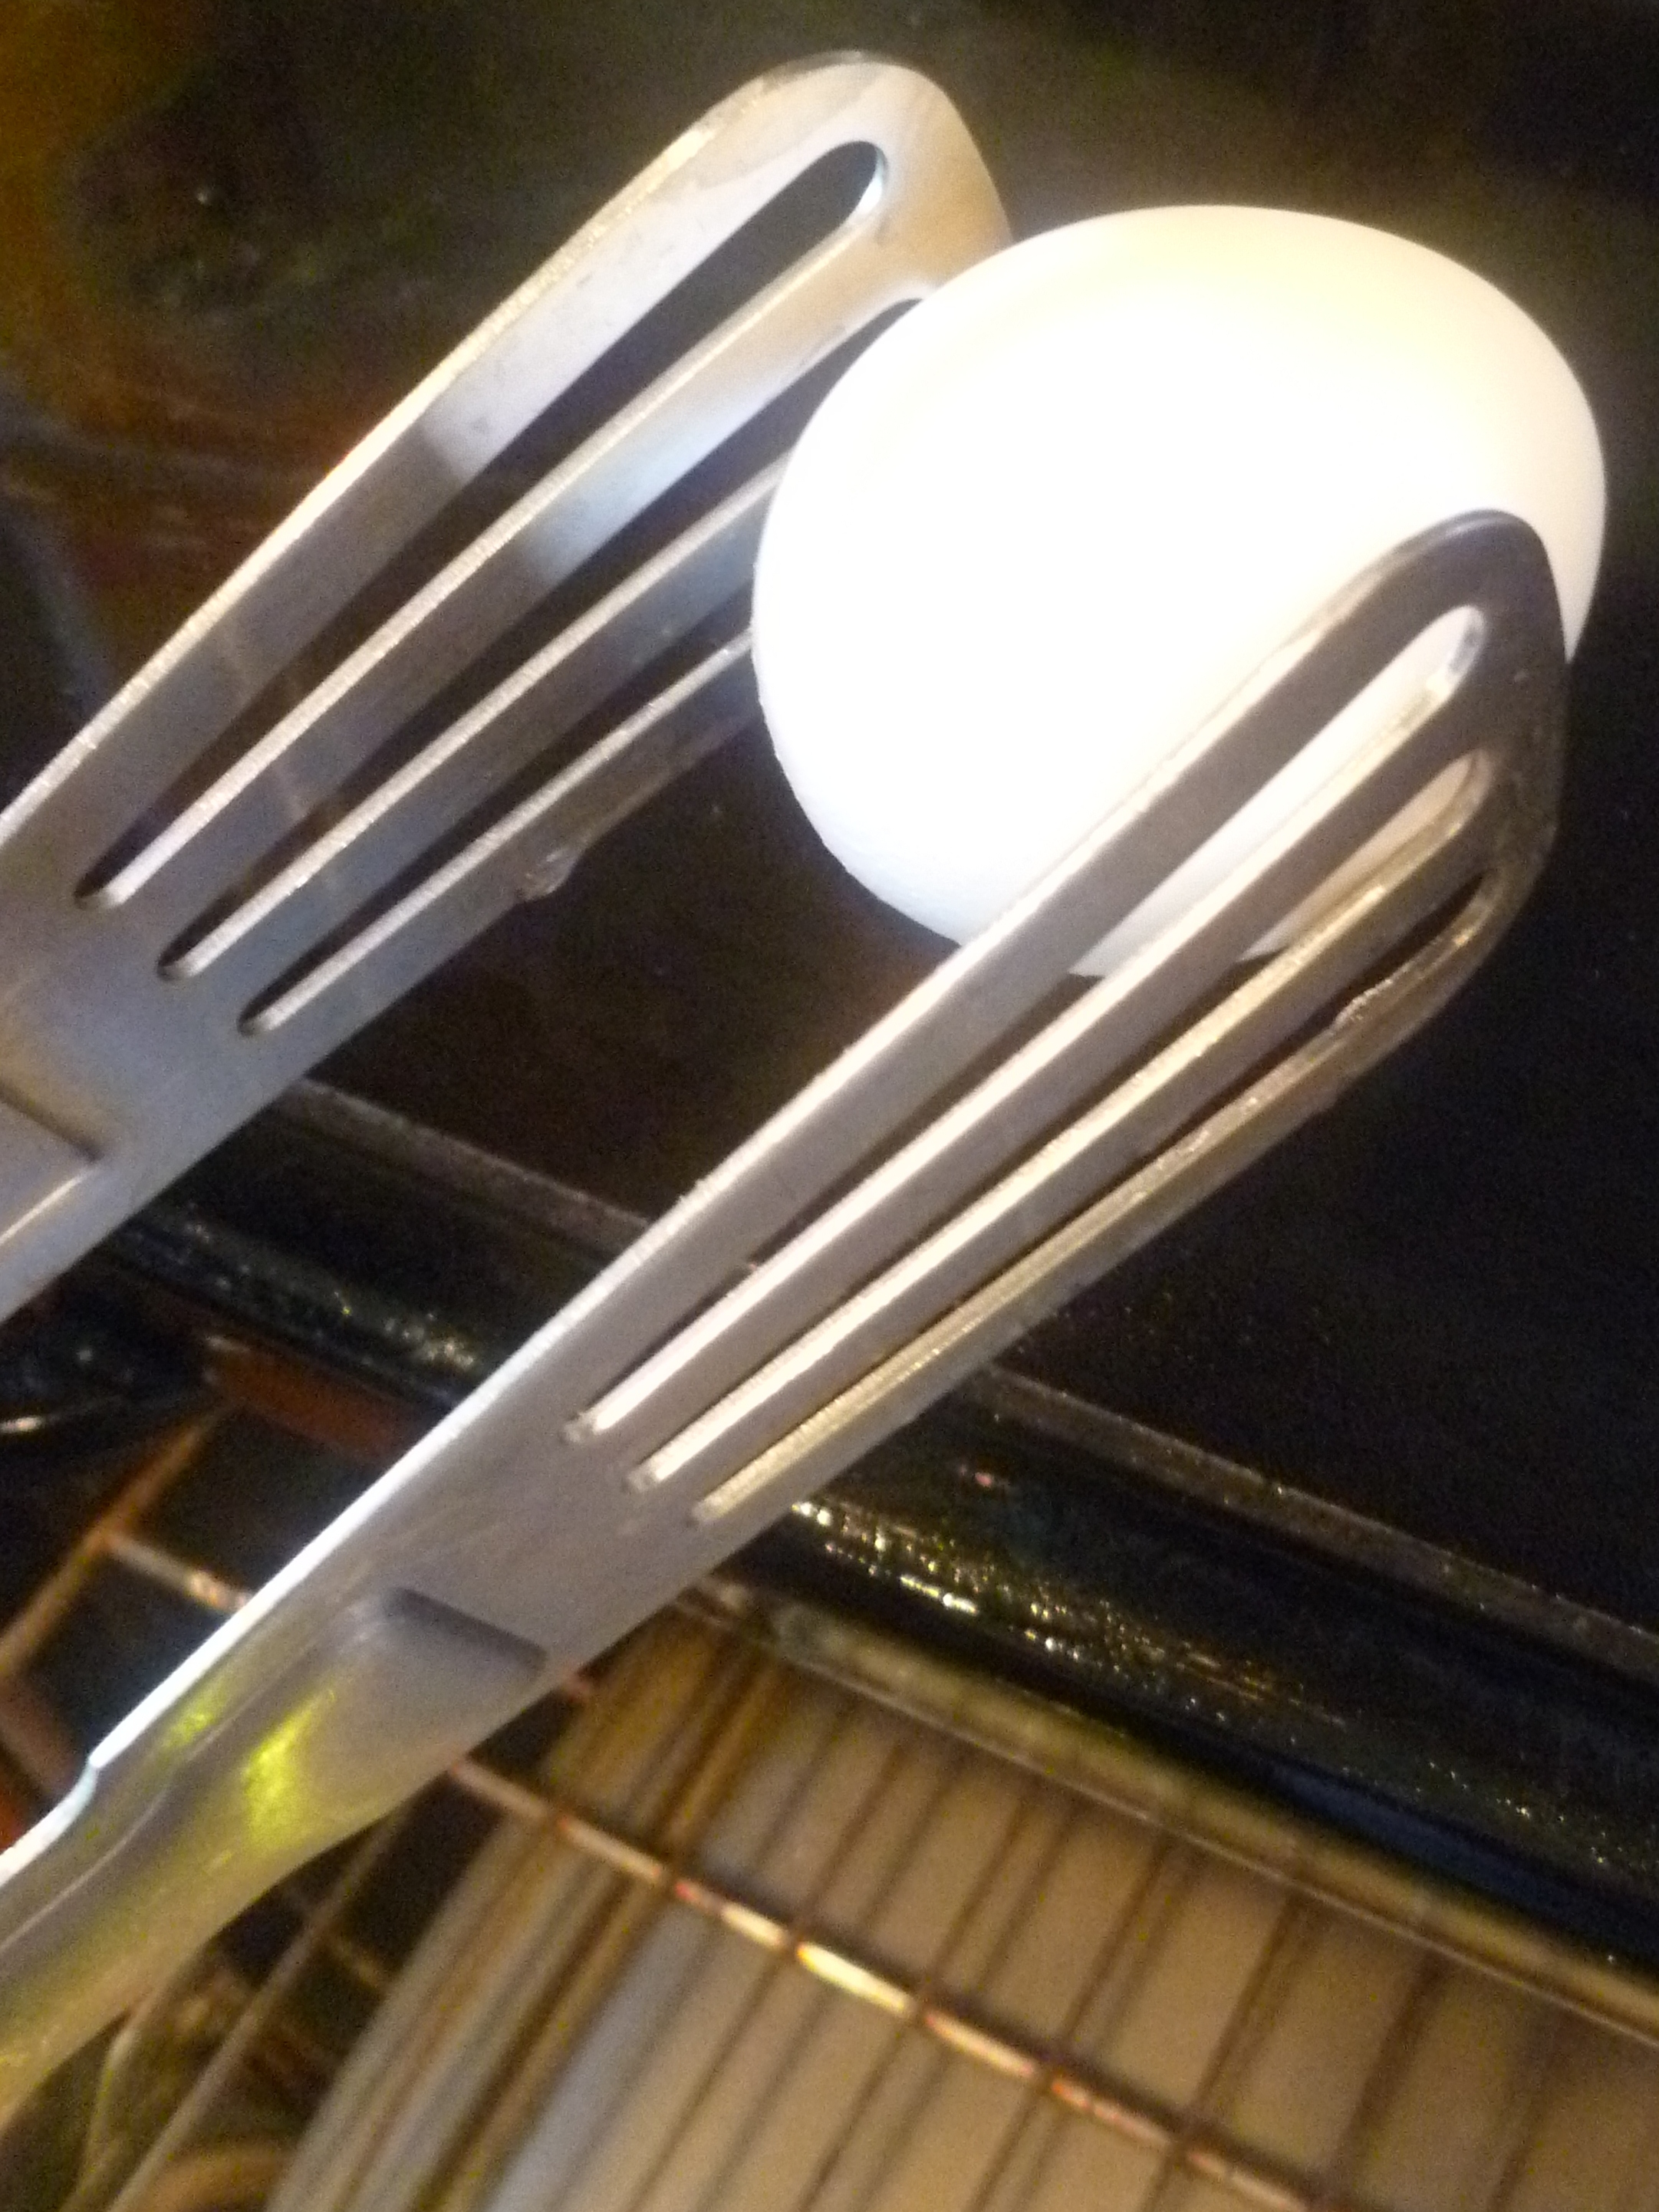
- Preheat the oven to 325 degrees. Once oven is heated, place the eggs directly on the wire rack in the oven, or arrange eggs in a mini muffin pan and then place in the oven.
- Bake eggs for thirty minutes at 325 degrees. Remove eggs from oven and immediately submerge eggs in a pot full of icy water. Allow the eggs to cool for ten minutes before removing from water to dry off and continue cooling.


Becky @ Utah Sweet Savings
How do they peal?
burntapple
Great. Very very easy to peel once they've cooled
Roberta
mine did not peel well at all don't know what I did wrong I have tried this a few times and had the same problem every time.
burntapple
I'm so sorry to hear that it didn't work. Not sure what happened. I have been making them this way for two years before I posted this. (And I just finished hard boiled eggs for lunch too and they did fine). The only thing that I can think of is making sure you transfer your eggs straight from the oven to the water. I usually have my bowl on the counter next to my oven. You also need to make sure that the ice water is very, very cold. I usually fill the entire bowl up with ice and then water. Good luck, hope the tips help.
alex
I've always wanted to try this method! glad to hear it works!
Michelle
Regarding peeling problems - are you using fresh eggs or older ones? My mom and grandmas taught me to use older eggs when I'm going to boil them. I've found that they are easier to peel. By older - plan ahead and buy your eggs at least one or two weeks before you need them. My mom would always mark the carton "do not use - need for deviled eggs" and the date.
Joyce Buchanan
I decided to try this since I had 3doz or more eggs to hard boil for Easter egg dying. I baked mine for 35mins yes a bit long but they turned out good. I also didn't have any ice so I put bowls of cold water in the freezer while they were baking. I pulled the bowls out right before the timer went off so I could place the eggs in them and it worked like a charm. So easy to peel and ready for dying tomorrow.
Jenny
has anyone had them explode in the oven? That is my worst fear, that and they wont cook appropriately. Just checking, I need to do a few dozen for tomorrow.
.
burntapple
No, they don't explode. 🙂 I thought that too. If you are worried, put each egg into a mini muffin pan first and then into the oven. Good luck, let me know how it turns out.
Deanna Koehler
turned mine down 25 degrees and 5 of them exploded
Andrea
Hi. I found you via Pinterest and decided to give this a shot, as it just seemed so easy! I started off just doing 6 eggs for my daughter to take to a friends house to dye..I put each egg in a mini muffin tin and they turned out perfect. They were very easy to peel, too. I will definitely be doing all my Easter eggs this way tomorrow. Thanks!
burntapple
Great to hear! Hope you and your family have a great easter
Clare
Just wondering. When I took my eggs out of the oven, they were speckled. Does anyone know why?
burntapple
No idea on that one. I'm not sure how you prepared them, so it would be hard to tell. I'm sure they will still taste great though. Let me know if you have any other questions. I would be happy to answer them for you.
Lori
Mine were also speckled. I'm guessing because my oven is in need of a good cleaning! I make homemade pizza without trays so there is always burnt cheese on my wire racks. Most of the speckles came off when I put them in the cold water, I wiped whatever spots I could still see with paper towel, most disappeared.
Jennie
I just put my eggs in the oven. Trying this out for the first time. Hope it works b/c these are the only eggs I have for my kids! I usually have bad luck boiling them, hoping to have better lock baking them. wish me luck, i will let you all know!
Lori
Tried this today for the first time. I had 3 eggs split, I am guessing towards the end of the cooking cycle because there wasn't egg all over my oven. One split so bad I heard it pop in the oven while I was in my kitchen! I peeled one of the popped eggs, it was cooked great. I'm guessing my oven cooks faster than others and I might need to reduce the cooking time?
burntapple
Yes, that's probably it. I have an electric oven. My friends with gas ovens tried it and had no problems with cooking times. My MIL tried it in her conventional oven and had to reduce the time because it typically cooks a little faster. Hope that helps. Traci
Jamie
I will never boil eggs on the stove again!!! These turned out perfect!!! I also had the spots but came right off... THANK YOU!!!