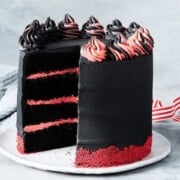
Black velvet cake (also known as fire and ice cake) is one of the prettiest cakes you'll make and enjoy eating! And you can make this 100% all natural with all natural dyes!
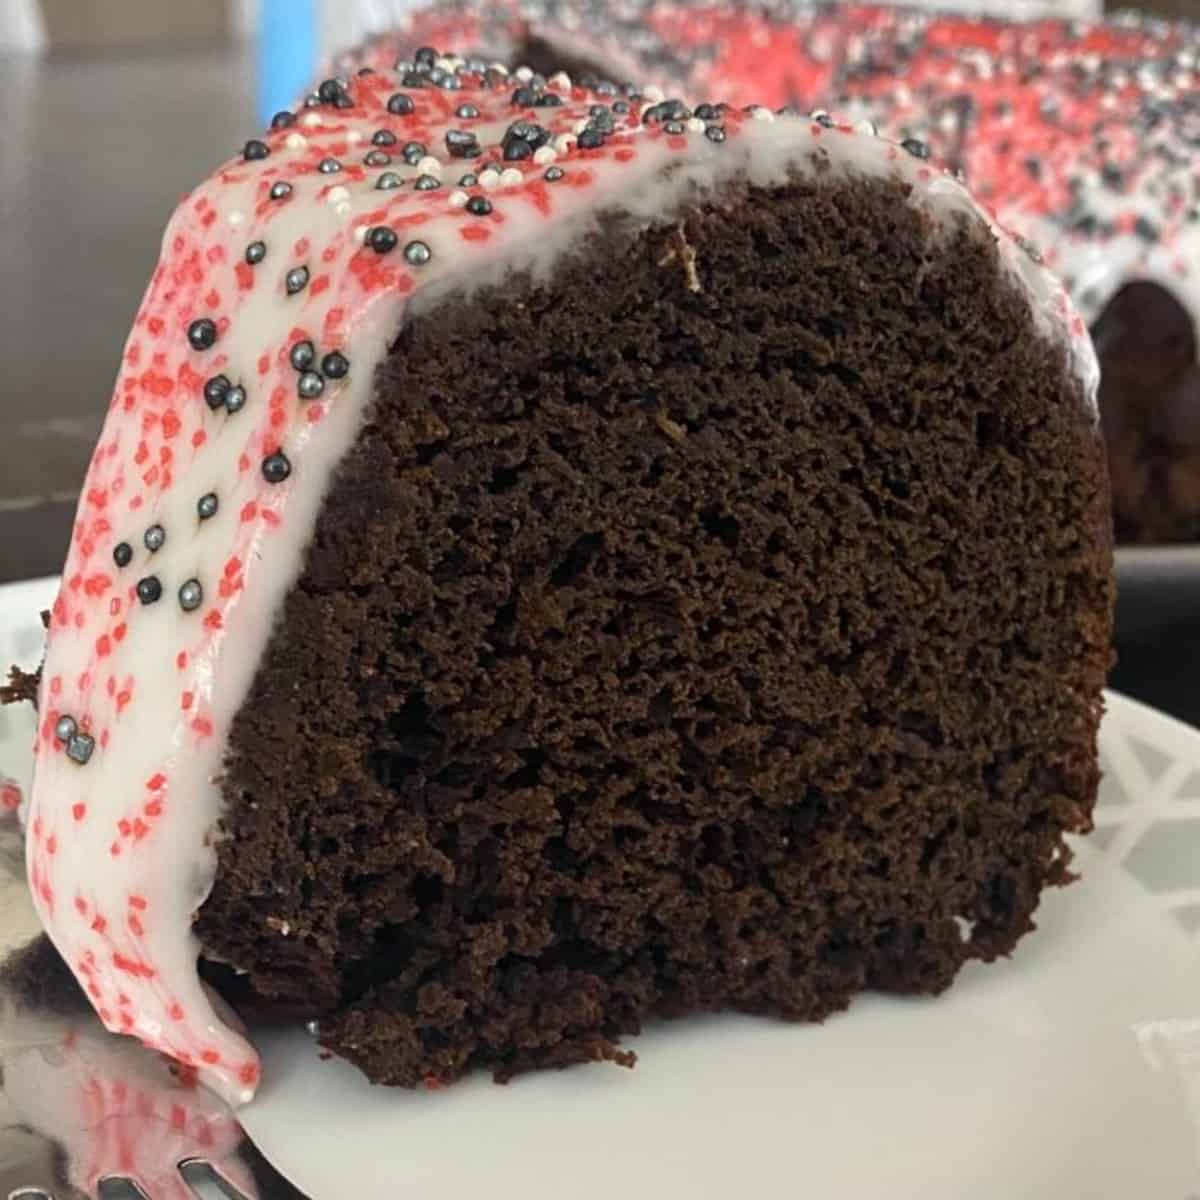
I first saw this black velvet cake recipe on another website and was intrigued. It was a beautiful recipe and the cake turned out gorgeous. While traditionally a Valentine's cake, it really can be served anytime of year for parties, a children's birthday party and more!
Jump to:
History
It is difficult to find the true origin and history behind this cake. But here are a few fun facts:
- Name: Black velvet cake is often referred to as fire and ice cake or fire and blood cake.
- The origins of red velvet cake came about during World War II when bakers began to use beets to color the cakes. Perhaps accessible items like charcoal were used to color the cakes black?
Ingredients
You'll need more than 5 ingredients to make this cake. If you are looking for some simple and easy cake ideas with 5 ingredients or less try some Golden Oreo cupcakes, lazy cake, or coconut cake.
For your black velvet cake you will need:
- milk
- apple cider vinegar
- all purpose flour
- black cocoa powder
- sugar
- baking powder
- baking soda
- salt
- oil or melted butter
- vanilla extract
- Black food dye (optional)
Instructions
- For the cake: Preheat the oven to 350 degrees. Lightly grease and flour a standard sized bundt pan, 9x13 inch pan or 2 8x8 inch rounds.
- In a small bowl, combine the milk and vinegar and set aside.
- In a mixing bowl on low speed stir together the dry ingredients. To that add the wet ingredients minus the dye (if using). Stir together until smooth.
- Add your food dye if using.
- Once all ingredients are mixed well, pour the cakes into your chosen pan. Bake at 350 degrees for 25-28 minutes for 8x8 inch pans, 30-35 minutes for 9x13 inch pan, or 40-45 minutes or until a toothpick inserted in the center of the pan comes out clean.
- Remove from oven and allow cake to cool in the pans for 15-20 minutes then remove from pan and place on cooling rack to finish cooling completely.
- Frost and decorate cake once cooled completely.
Substitutions
There are some substitutions you can make so anyone can enjoy no matter if you deal with food allergies, intolerances or preferences.
- Gluten free: Substitute gluten free flour in place of the all purpose flour.
- Dairy free: You will want to substitute oil for the butter and dairy free milk in place of the milk.
- Vegan: This recipe can be made vegan by substituting plant based milk and oil in place of the butter.
Food Dye Substitutions
If you can't find black cocoa powder -- or want a deeper black color to your cake, there are several substitutions and ideas you can use.
- Black Cocoa Powder: Black cocoa powder can be substituted for regular cocoa powder to make a rich color.
- Natural Black Food Dye: If you're using regular cocoa powder in your recipe, natural black food dye can bring that rich black velvet color to your cake. If you use black cocoa powder you can also use a teaspoon of natural black food dye to further enhance color of the cake. Usually a teaspoon or two of this natural food dye will do the trick.
- Charcoal Powder: Add ¼ cup of charcoal powder to your cake in place of black dye or black cocoa powder. This is a very inexpensive way to make black velvet cake. Make sure that if you use this method you also add and extra ¼ cup water or milk to the recipe as well. (Note that charcoal powder may affect medication absorption).
Frosting
Frost and decorate cake once cooled completely. We recommend a white chocolate buttercream or ganache, chocolate frosting (you can add some black food dye if you're wanting a black velvet frosting look). You can even do a red velvet frosting too if you are doing a red and black cake. We've even done an Oreo frosting recipe before.
Storing
Once cooled and frosted, store the black velvet cake in an airtight container at room temperature for up to 3 days. Alternatively, you can refrigerate it for longer shelf life, but allow it to come to room temperature before serving for the best taste and texture.
you can also freeze your cake. Wrap the cooled and unfrosted cake tightly in plastic wrap and aluminum foil before placing it in a freezer-safe container. It can be stored in the freezer for up to 2-3 months. Thaw the cake in the refrigerator overnight before frosting and serving.
Serving
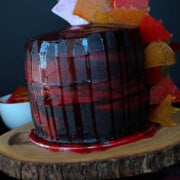
There are so many fun events you can serve this beautiful cake at. Here are some ideas:
FAQ
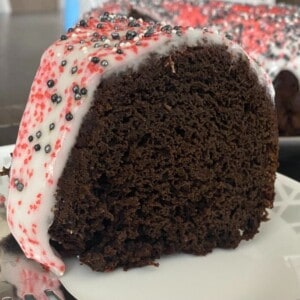
Naturally Dyed Black Velvet Cake
Equipment
- cake pan
- frosting spatula
Ingredients
- 2 cups milk
- 2 tablespoons apple cider vinegar
- 2 ½ cups all purpose flour
- 1 cup black cocoa powder
- 2 cups sugar
- 1 tablespoon baking powder
- 2 teaspoons baking soda
- 1 teaspoon salt
- 1 cup oil or melted butter
- 1 tablespoon pure vanilla extract
- Black food dye optional
Instructions
- Preheat your oven to 350 degrees Fahrenheit.
- Lightly grease and flour your preferred baking pan: a standard-sized bundt pan, a 9x13 inch pan, or two 8x8 inch rounds.
- In a small bowl, mix together the milk and vinegar, then set aside.
- In a mixing bowl, combine the dry ingredients on low speed.
- Gradually add the wet ingredients to the dry ingredients, except for the food dye. Mix until smooth.
- Add the food dye to achieve the desired color (see notes at the bottom of the recipe for tips on achieving a deeper black velvet color).
- Once all the ingredients are well combined, pour the batter into the prepared pan.
- Bake according to the following times: 25-28 minutes for 8x8 inch pans, 30-35 minutes for a 9x13 inch pan, or 40-45 minutes, or until a toothpick inserted into the center comes out clean.
- Remove the cake from the oven and allow it to cool in the pan for 15-20 minutes.
- Transfer the cake from the pan to a cooling rack to cool completely.
- Once cooled, frost and decorate the cake as desired.


Leave a Reply