This gluten free Oreo pie crust recipe is here to satisfy all your sweet cravings. You'll have a perfectly crispy, chocolatey crust in no time! So grab your ingredients and get ready to become a dessert pro with this easy and delicious gluten-free Oreo pie crust recipe.

Ingredients for the Gluten Free Oreo Pie Crust
To make your pie crust, you will need the following ingredients:
- 24 gluten-free Oreo cookies
- 6 tablespoons of unsalted butter, melted
Directions for Making Your Gluten Free Pie Crust
Now that you've got your ingredients ready it's time to make your crust!
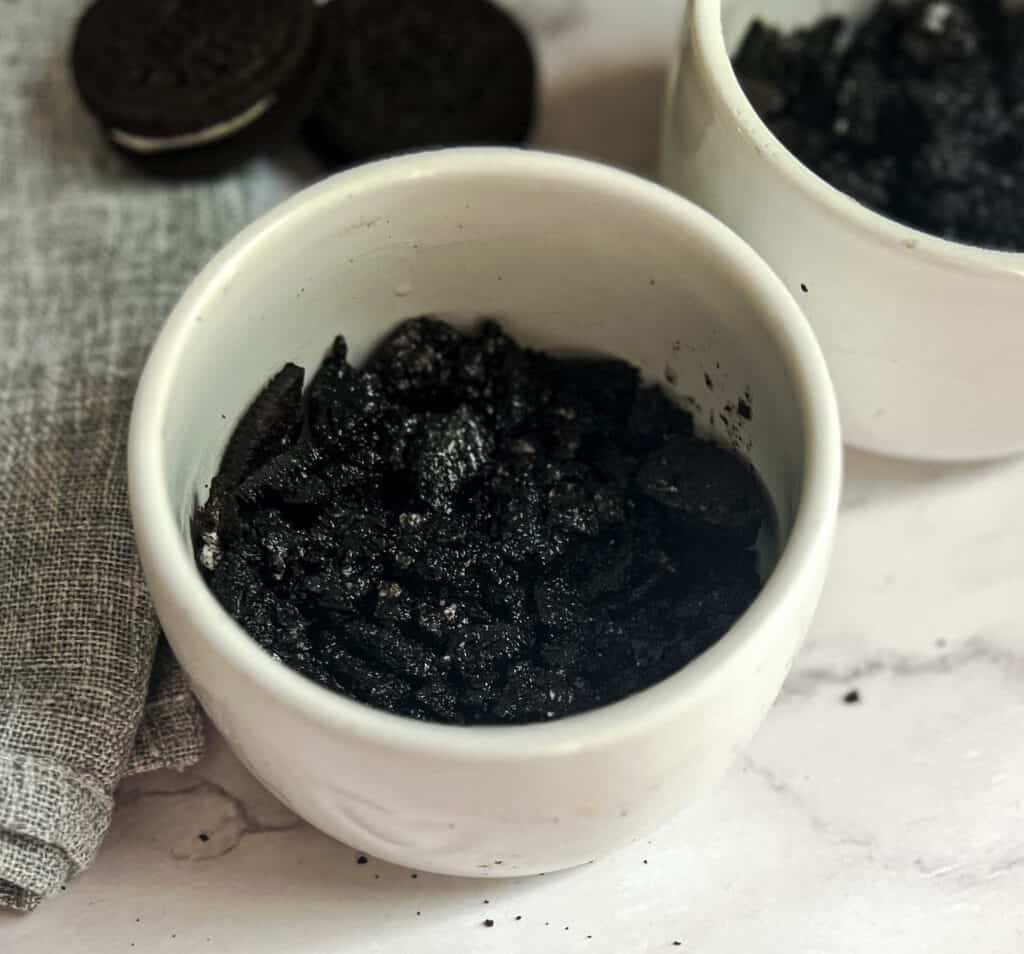
Step 1: Crushing the Oreos
You can use a food processor to make this process faster, or you can put the Oreos in a plastic bag and crush them with a rolling pin.
Once the Oreos are crushed, transfer them to a mixing bowl. Make sure there are no large chunks of Oreos left, as this will affect the texture of the pie crust.
Step 2: Mixing the Oreos with Butter
The second and final step in making a gluten-free Oreo pie crust is mixing the crushed Oreos with melted butter. To do this, add the melted butter to the mixing bowl with the crushed Oreos and stir until the Oreos are fully coated with butter.
Once the Oreos are coated with butter, transfer the mixture to a 9-inch pie dish. Use your fingers or the back of a spoon to press the mixture firmly into the bottom and up the sides of the dish. Make sure the crust is evenly distributed and compacted.
Preparing the Pie Crust for Baking
Now that you have made the gluten-free Oreo pie crust, it's time to prepare it for baking. Preheat your oven to 350°F (175°C) and bake the crust for 10-12 minutes, or until it is golden brown and fragrant.
Once the crust is baked, remove it from the oven and let it cool completely before filling it with your desired pie filling. This crust pairs perfectly with a variety of fillings, such as chocolate pudding or peanut butter.
Don't Want to Bake Crust?
Guess what? You don't have to. You can skip baking and opt to make a recipe like Wingers Asphalt Pie.
Can I Use Regular Oreos?
Yes, you can use regular Oreos.
Can I Use Dairy Free Butter?
Absolutely! Feel free to use dairy free butter if you would like.
Tips for Making the Perfect Pie Crust
Make sure to use gluten-free Oreos to keep the pie crust gluten-free.
- Press the crust firmly into the pie dish to ensure it holds together.
- If the mixture seems too dry, add a little more melted butter to help it hold together.
- Bake the crust until it is golden brown and fragrant to ensure it is fully cooked.
Serving Suggestions for the Gluten-Free Oreo Pie Crust
Now that you have made the perfect gluten-free Oreo pie crust, it's time to serve it up! This crust pairs perfectly with a variety of fillings, such as chocolate pudding or peanut butter. Serve it up with a dollop of whipped cream or a scoop of ice cream for an extra special treat. You can also opt to not bake your pie crust and make a no bake Wingers Asphalt Pie filled with mint chocolate ice cream and drizzled with caramel syrup and whipped cream!

Gluten Free Oreo Pie Crust Just Two Ingredients!
Ingredients
- 24 gluten free oreos
- 6 tablespoon butter melted
Instructions
- crush the gluten-free Oreos. You can use a food processor to make this process faster, or you can put the Oreos in a plastic bag and crush them with a rolling pin.Once the Oreos are crushed, transfer them to a mixing bowl. Make sure there are no large chunks of Oreos left, as this will affect the texture of the pie crust.
- mix the crushed Oreos with melted butter. To do this, add the melted butter to the mixing bowl with the crushed Oreos and stir until the Oreos are fully coated with butter.Once the Oreos are coated with butter, transfer the mixture to a 9-inch pie dish. Use your fingers or the back of a spoon to press the mixture firmly into the bottom and up the sides of the dish. Make sure the crust is evenly distributed and compacted.
- Preheat your oven to 350°F (175°C) and bake the crust for 10-12 minutes, or until it is golden brown and fragrant.Once the crust is baked, remove it from the oven and let it cool completely before filling it with your desired pie filling


Leave a Reply