

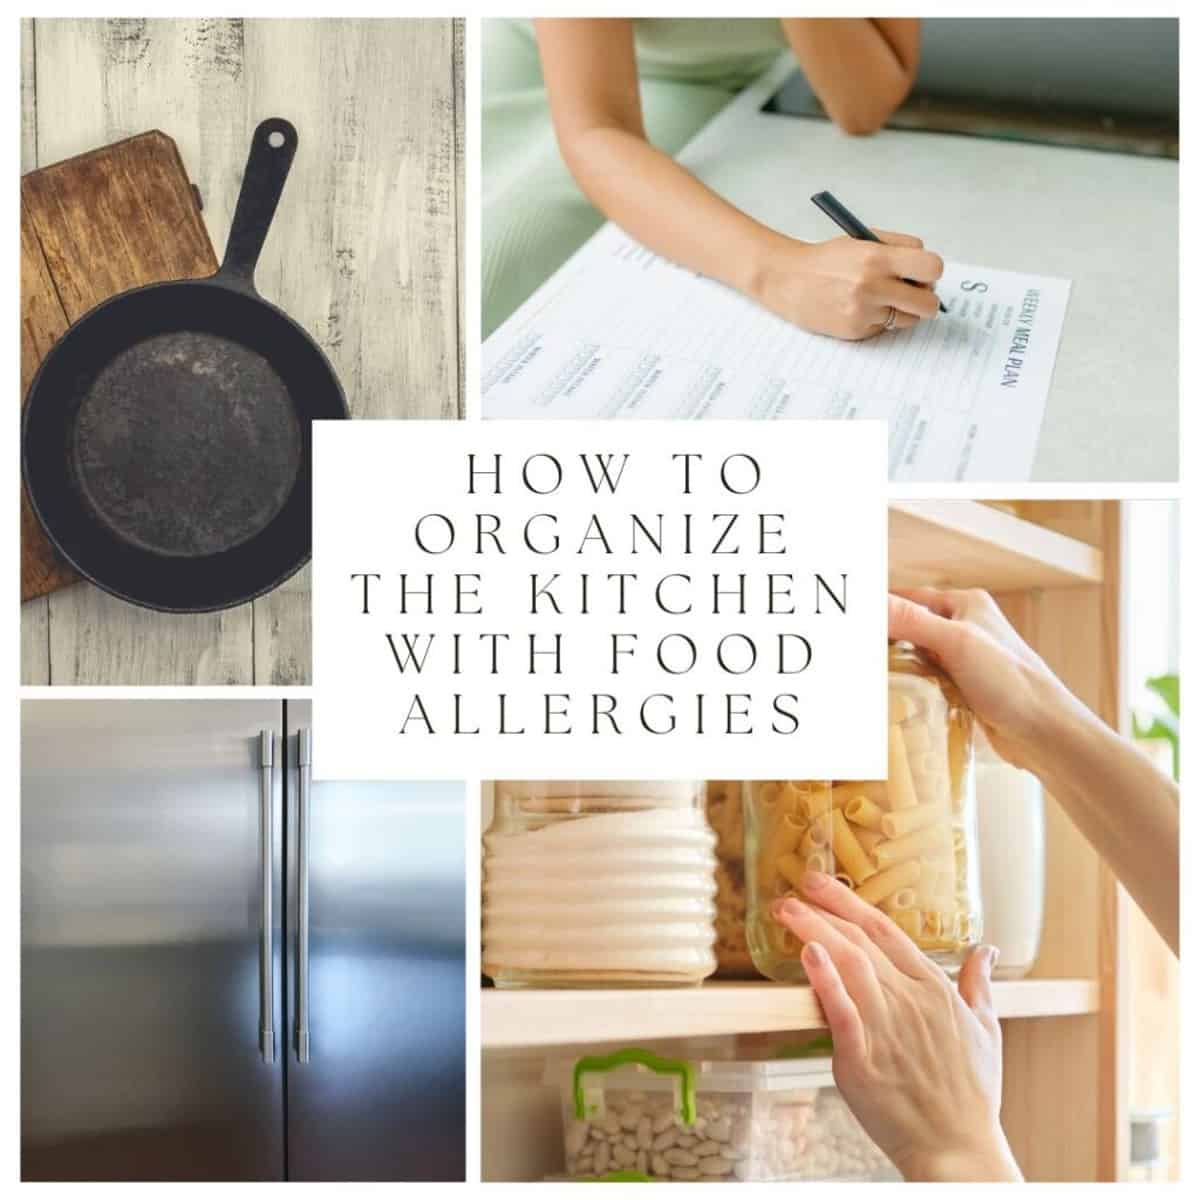
I eat gluten free. My husband and kids don't. You'll find gluten free flour and unbleached all purpose flour in our pantry. In this guide, I'll provide you tips and tricks on how to organize the kitchen with food allergies and intolerances.
I'll show you how to shop for groceries, plan meals, and organize the pantry that are free from your allergens. Whether you have a gluten intolerance, nut allergy, or lactose intolerance, this guide will help you transform your kitchen into a safe eating space for everyone.
Why it's important to organize the kitchen when you have food allergies
Living with food allergies can be a daunting experience, and it's easy to feel overwhelmed in your own kitchen. Organizing your kitchen to cater to your food allergy needs can significantly reduce the risks of accidental exposure to your allergens. Just the other day I was making pancakes for the family and I. Somehow the unbleached all purpose flour fell and went over the counter. I inhaled a cloud of flour and ended up sick.
Organizing your kitchen can also help you save time, money, and energy by streamlining your cooking and meal planning processes. Here are some reasons why it's important to organize your food allergy-friendly kitchen:
Reduce the risks of cross-contamination
Cross-contamination occurs when a food allergen comes into contact with a food that does not contain the allergen, then contaminates it. This can happen through shared utensils, appliances, cutting boards, and surfaces. By organizing your kitchen, you can designate specific areas for preparing and storing food that is free from your allergens. You can also use separate utensils, appliances, and cutting boards for different types of foods. This can significantly reduce the risks of cross-contamination and make your kitchen a safer place for you and your family.
Save time and money
Organizing your pantry, refrigerator, and freezer can help you keep track of your food inventory and avoid buying unnecessary items. This can save you time and money by reducing food waste and ensuring that you always have the ingredients you need for your meals. Additionally, meal planning and preparation can help you save time by allowing you to cook in batches and avoid last-minute trips to the grocery store.
Improve your quality of life
Getting sick is no fun and you already have those moments you come into contact with something that makes you sick without knowing! I've eaten foods I've checked labels for that looked okay only to later find out that they actually did contain trace amounts of what I am not able to eat.
Living with food allergies can be stressful and frustrating, but it doesn't have to be. By organizing your kitchen, you can create a safe and welcoming environment that allows you to enjoy cooking and eating without the fear of allergic reactions. This can improve your quality of life and help you feel more confident and in control of your dietary needs.
Step 1: Organize your pantry
The pantry is the heart of your kitchen, but it's also the place where cross contamination can easily occur. Organizing it can make a huge difference in your cooking and meal planning processes. Here are some tips for organizing your pantry:
Declutter your pantry
The first step to organizing your pantry is to declutter it. Go through your pantry and remove any expired, stale, or unused items. Donate any unopened items that you don't need to a local food bank or charity. This will help you create more space and make it easier to find the items you need.
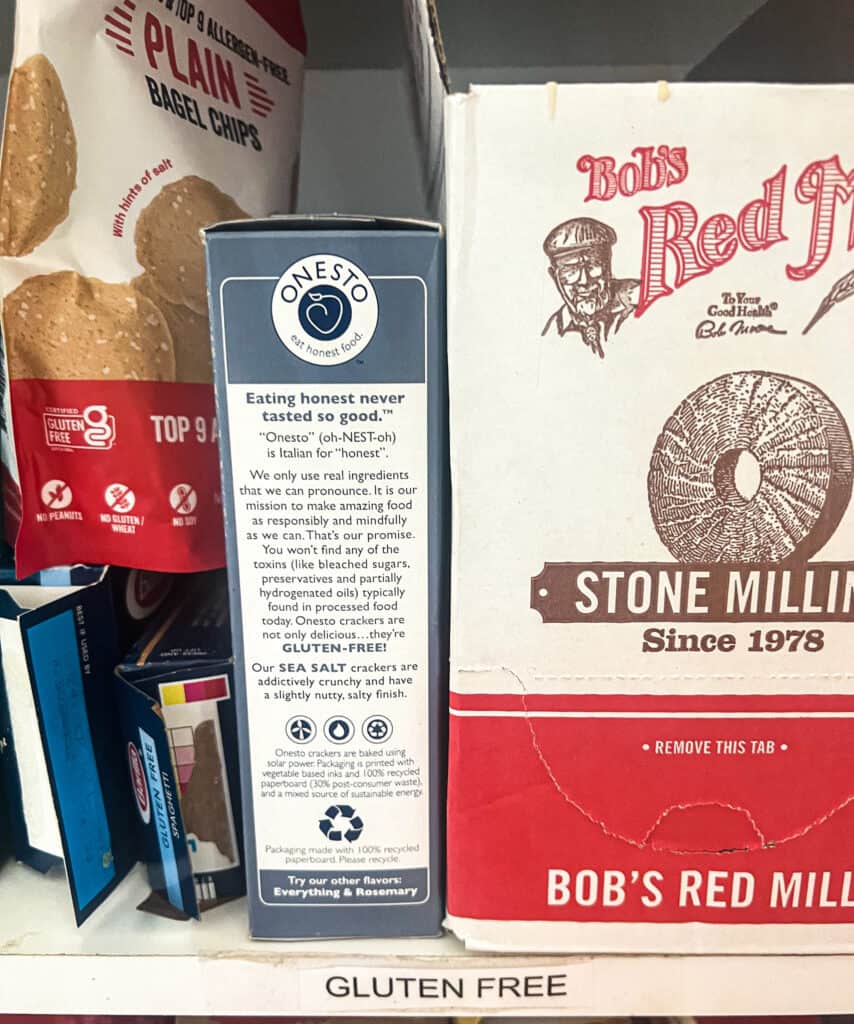
Categorize your items
Group your pantry items into categories such as grains, cereals, snacks, condiments, and baking supplies. This will make it easier to find the items you need and avoid buying duplicates. You can use baskets, bins, or shelves to separate your items and keep them organized.
Label your items
Labeling your pantry items can help you keep track of their expiration dates and avoid using expired items. You can use a label maker or simply write the date of purchase on the items with a marker. You can also use color-coded labels to distinguish between different types of items.
Step 2: Organize your refrigerator
The refrigerator is where you store your perishable items, and organizing it can help you keep track of your inventory and reduce food waste. Here are some tips for organizing your refrigerator:
Use clear containers
Using clear containers can help you see what's inside your refrigerator and avoid forgetting about items that need to be used up. You can use clear plastic containers or mason jars to store your leftovers, chopped vegetables, and fruits.
Keep your items visible
Keeping your items visible can help you avoid buying duplicates and ensure that you use up your perishable items before they expire. You can use lazy susans or tiered shelves to keep your items in sight and avoid having them hidden behind other items. You can also place your food allergy friendly items at one end of the refrigerator and others at the other end of the refrigerator.
Label your items
Labeling your refrigerator items can help you keep track of their expiration dates and avoid using expired items. You can use a label maker or simply write the date of purchase on the items with a marker. You can also use color-coded labels to distinguish between different types of items.
If you are needing some tips and ideas for keeping food safe at work and in work fridges, check out these tips on gluten free at work.

Step 3: Tips for organizing your freezer
The freezer is where you store your frozen items, and organizing it can help you keep track of your inventory and reduce food waste. Here are some tips for organizing your freezer:
Use ziplock bags
Using ziplock bags can help you save space and avoid freezer burn. You can use them to store your meats, vegetables, fruits, and leftovers. Make sure to label the bags with the type of food and the date of purchase.
Use plastic containers
Using plastic containers can help you organize your freezer and avoid having items scattered around. You can use them to store your ice cream, frozen fruits, and vegetables. Make sure to label the containers with the type of food and the date of purchase.
Keep a freezer inventory
Keeping a freezer inventory can help you keep track of your frozen items and avoid buying duplicates. You can use a simple spreadsheet or a whiteboard to list your items and their expiration dates. Make sure to update the inventory regularly and use up the items before they expire. In the freezer, you can also separate out food allergy friendly procucts from others by placing them on separate shelves.
Step 4: Label and store food properly
Labeling and storing your food properly can help you reduce the risks of cross-contamination and avoid using expired items. Here are some tips for labeling and storing your food properly:
Use clear labels
Using clear labels can help you see what's inside your containers and avoid confusion. You can use a label maker or simply write the name of the food and the date of purchase on the labels. I use the Brother Design and Print label maker. It can easily be set up and used on my phone or computer.
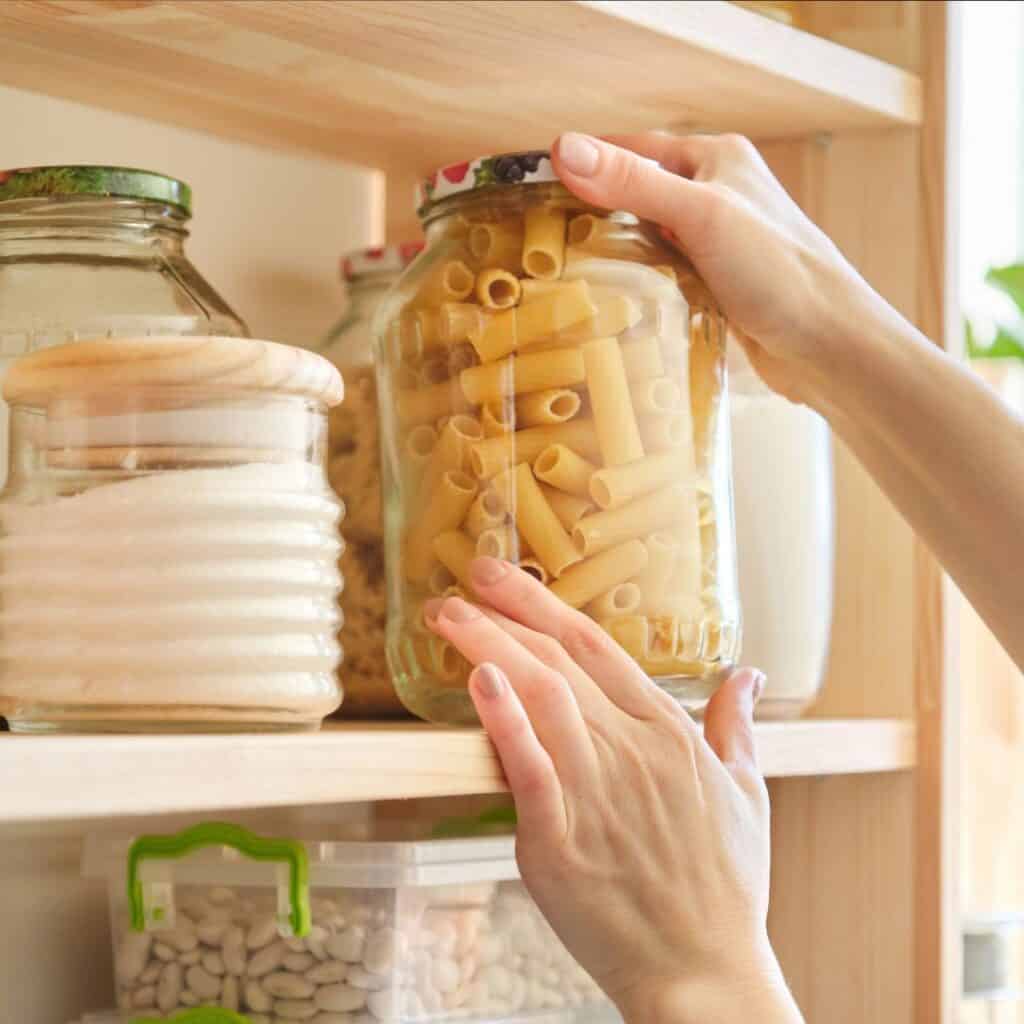
Store allergen-free items on higher shelves
Storing your allergen-free items on higher shelves can help you avoid cross-contamination from items that contain allergens. Make sure to use a separate shelf or area for your allergen-free items and use a step stool if necessary.
Use airtight containers
Using airtight containers can help you avoid cross-contamination and extend the shelf life of your food. You can use glass containers or plastic containers with tight-fitting lids.
Step 5: Essential kitchen tools for food allergy-friendly cooking
Having the right kitchen tools can make a huge difference in your food allergy-friendly cooking. Here are some essential kitchen tools for food allergy-friendly cooking:
Cutting boards
Using separate cutting boards for different types of foods can help you avoid cross-contamination. You can use a color-coded system to distinguish between different types of cutting boards.
Utensils
Using separate utensils for different types of foods can help you avoid cross-contamination. You can use a color-coded system to distinguish between different types of utensils. In our house, we are usually okay using the same utensils as long as they are washed well.
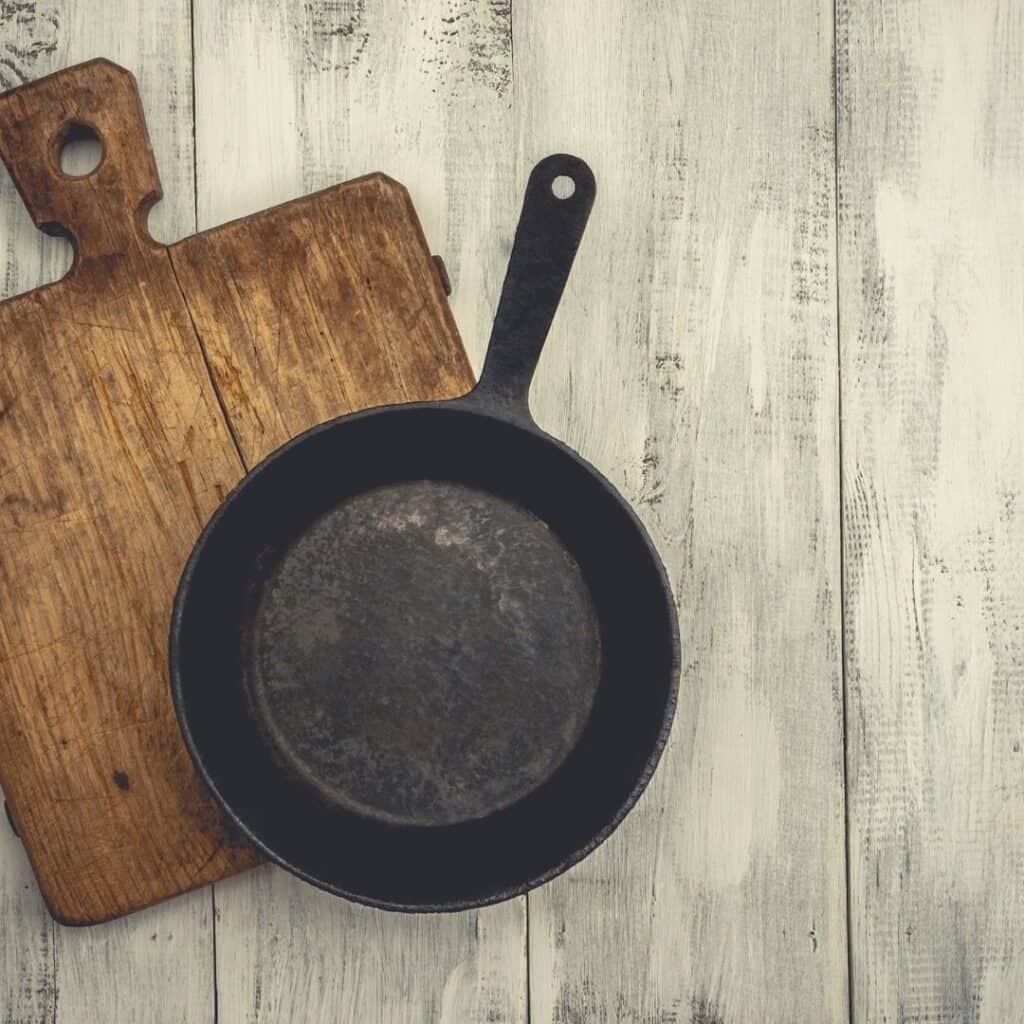
Cookware
Using separate cookware for different types of foods can help you avoid cross-contamination if needed. You can use stainless steel or cast iron cookware, which are less likely to harbor allergens.
Step 6: Meal planning and preparation tips
Meal planning and preparation can help you save time and money while ensuring that you always have allergy-friendly meals ready to go. Here are some meal planning and preparation tips:
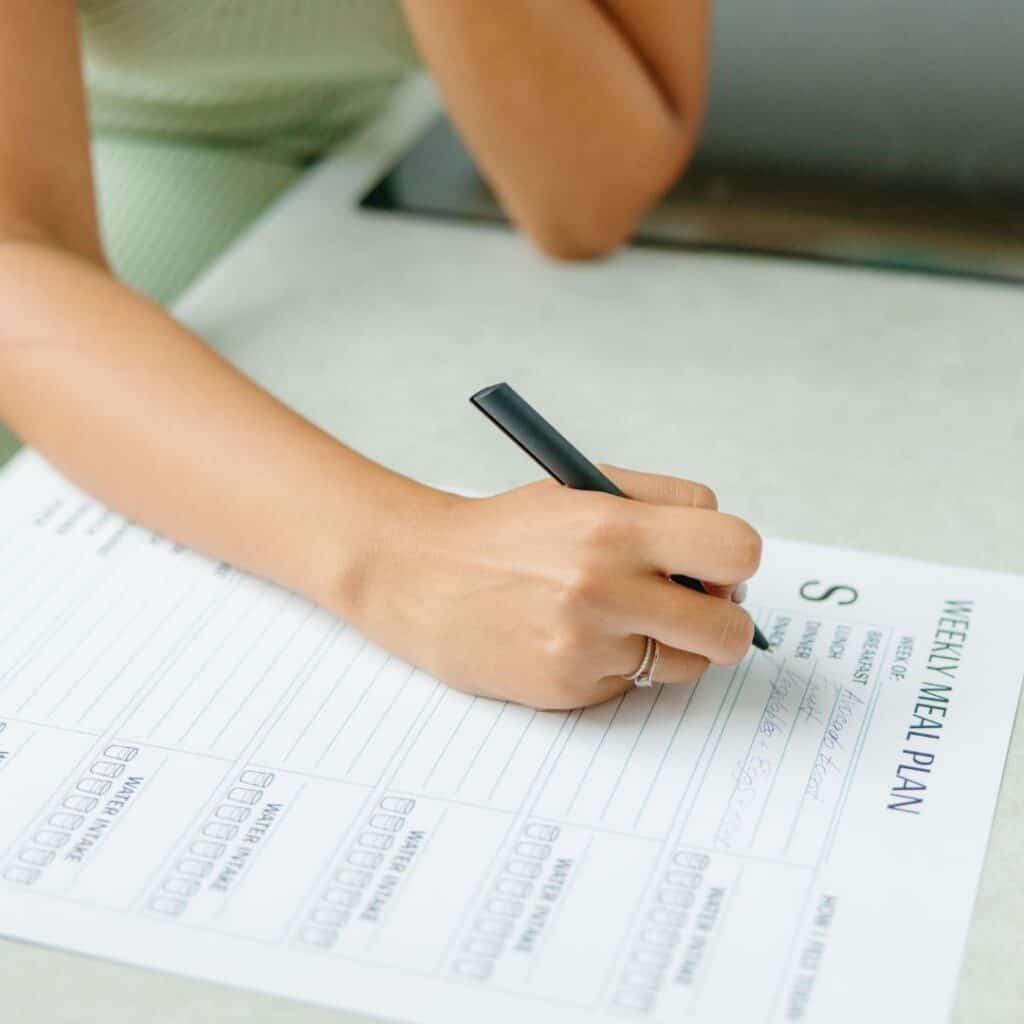
Plan your meals in advance
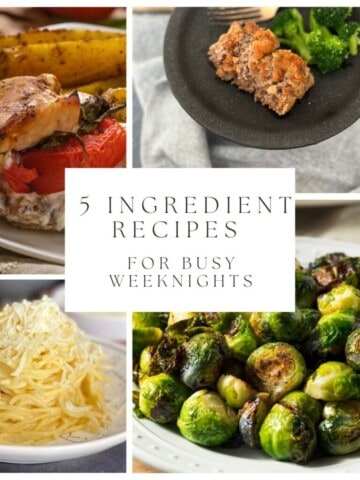
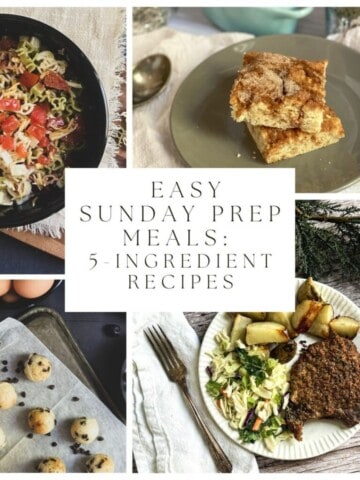
Planning your meals in advance can help you avoid last-minute trips to the grocery store and reduce food waste. You can use a meal planning app or a simple spreadsheet to plan your meals for the week. You can find some of my simple Sunday prep meals that are perfect for busy weeks!
Cook in batches
Cooking in batches can help you save time and energy by allowing you to prepare multiple meals at once. You can use a slow cooker or an instant pot to cook your meals in batches. Often I'll also cook up my meat (like ground beef or chicken) and then use it for my meals throughout the week. One night might be spaghetti and another night I might use the cooked ground beef for tacos.
Freeze your leftovers
Freezing your leftovers can help you avoid food waste and ensure that you always have allergy-friendly meals ready to go. You can use ziplock bags or plastic containers to store your leftovers in the freezer. Freezer meals are another great option for meal prep like this
Step 7: Get started!
Organizing your food allergy-friendly kitchen can significantly reduce the risks of accidental exposure to your allergens and make your life easier and more enjoyable. By following the tips and tricks in this guide, you can create a safe and welcoming environment in your kitchen and enjoy cooking and eating without the fear of allergic reactions.
And don't forget to sign up and get our free month of meals!


Leave a Reply